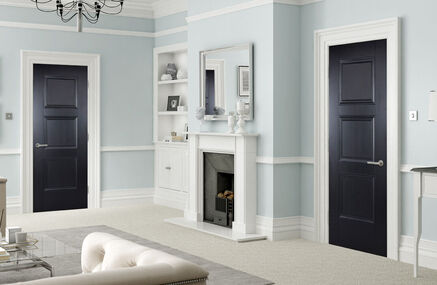
From ambitious interior design projects to more practical door replacement jobs, at Door Giant our wide range of internal doors vary in style, colour and theme to suit your requirements. There is a multitude of door materials to choose from and you’ll also discover that our unfinished and pre-finished internal doors, or unfinished external doors, are among our most popular offerings.
Pre-finished doors are delivered to you fully finished and ready to hang. This makes your project as simple, straightforward and streamlined as possible, while stripping away a lot of the time, labour and general hassle required to finish a door.
On the other hand, our unfinished doors are highly suitable for homeowners who need to take a more gradual and considered approach to finishing and painting. For example, you may want to purchase an unfinished door if you haven’t fully decided on your chosen colour scheme, theme or style idea, but require some of the initial building blocks to make your creative vision come to life.
If this sounds like you, it’s time to purchase an unfinished door… So, how do you finish, varnish or paint an internal door?
If this is your first time painting and finishing an unfinished door, we’ll guide you through everything you need to know, from preparation through to painting, varnishing and beyond.
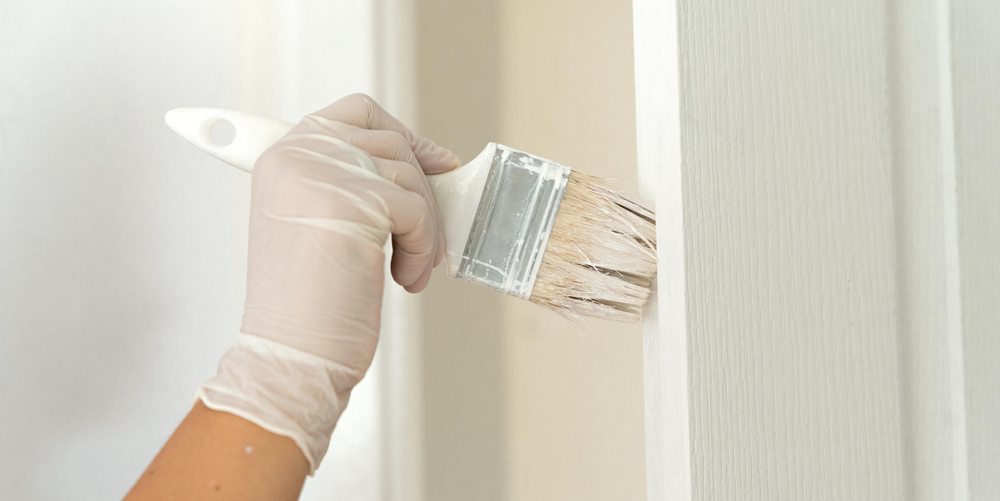
Painting Your Internal Doors
To achieve a truly desirable painted door finish, you should avoid the “one-size-fits-all” approach. First off, you need to work out what type of door you’re going to buy or already own. Typically the doors that are suitable for painting fall into 5 main categories: Panelled, Glazed, uPVC, Flush and Composite. All these door types have slightly different painting requirements. But before you equip yourself with a paintbrush, some preparation is required to pull off a professional painted finish.
Preparing & Cleaning Your Door
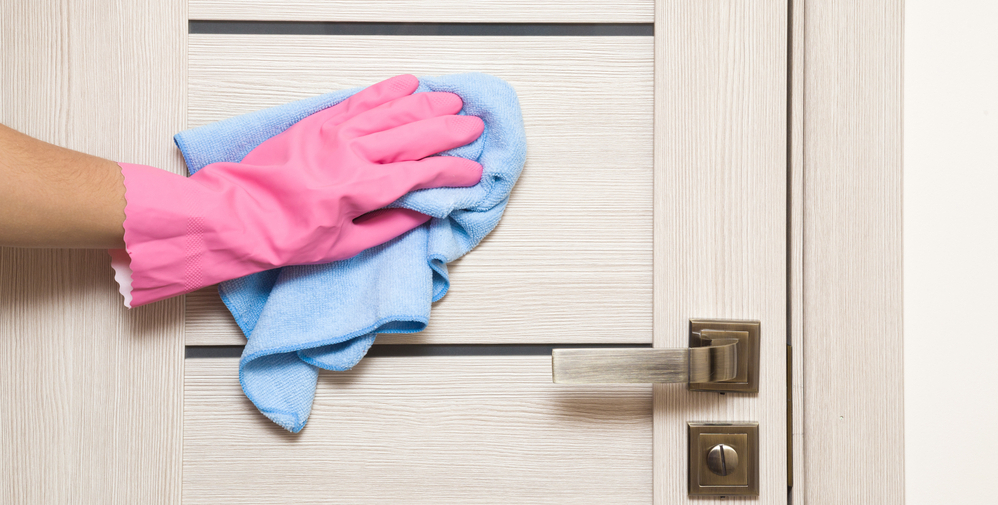
All unfinished doors should be prepared, cleaned and painted before hanging. This is to ensure that your paint coatings are applied as evenly as possible with the best possible coverage and so you don’t miss any areas while painting your door.
If an old or existing wooden door is already fitted, we would consider painting it while it’s still in-frame and attached to its hinges. The reason being is that if you remove an older door to paint, there’s a risk that natural expansion and contraction of the wood could cause the door to not fit correctly when it’s re-hung. You’ll also be able to get painting work done a lot faster as you won’t have to wait for each side to dry as you would if you were laying it flat. If your existing door is already painted, you are going to need to sand away any paint layers or treatments first which will also remove imperfections and create a cleaner, smoother and more immaculate looking end product.
Prior to painting, always inspect your door thoroughly for cracks, splits, damaged or defective wood knots and other natural crevices and imperfections in the wood. Although this process will be dependent on the style of door you go for - such as a rustic, natural or traditional wooden door - it’s always worth looking out for any cracks and splits, and then filling, sealing and sanding down those rough areas before finishing work is carried out.
Providing your door isn’t adorned with finer details such as ornate grooves or decorative panelling, you can run an electric sander over the surface to quickly prepare your unfinished surface. For doors with decorative embellishments, you’ll need to be more accurate, so make sure you manually sandpaper away any imperfections you come across, being careful as to not damage any of the door’s more nuanced details.
For more modern styles such as a flawless unfinished flush door or uPVC doors, you can simply prepare your door by sponging down the surface with mild soap and water. Once cleaned, leave it to dry completely before you start painting.
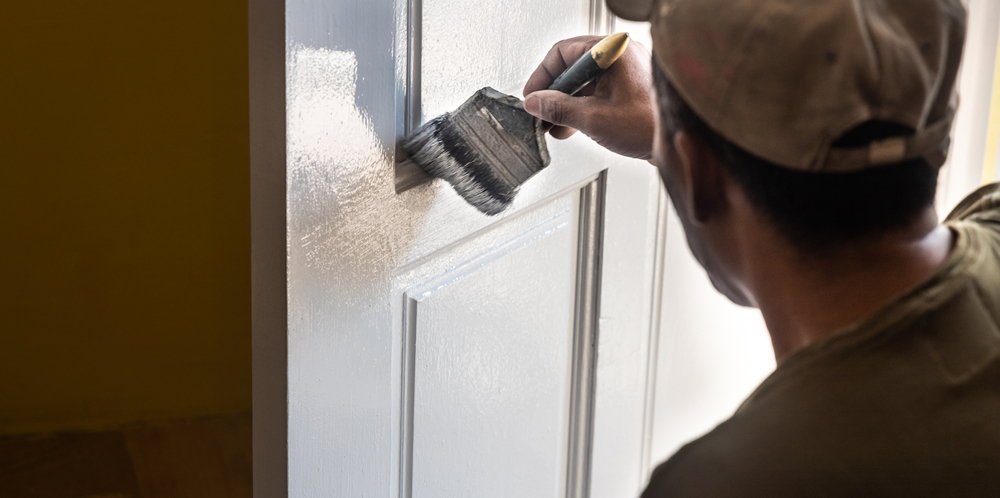
How To Paint An Interior Panel Door
When it comes to painting this classic door style, cast your paintbrush over the main panels first and then work outwards addressing any decorative mouldings. Once you’ve dealt with the more detailed elements, start painting the mullions, followed by the top and bottom rail, and then the cross and side rails.
Finally, you can complete your door by painting the slim edges. Once completely dried, replace the hardware and address any areas that need a touch up. You’ll discover how truly stunning and smart your door looks once the hinges and hardware have all been reattached, making for a truly professional painted finish.
How To Paint An Interior Glazed Door
Whether your door has one glazed panel or multiple panels, protect the glass elements with masking tape to prevent any flecks of paint from touching the glass. Paint the mouldings around the glass and then work outwards, painting the top cross rail, then the mullions and finally the bottom cross rail, the stiles and the edges.
How To Paint An Interior uPVC Door
Although you can’t use any old coating on a uPVC door, it is absolutely fine to paint them - providing you prepare, prime and apply your paint correctly. Similar to glazed doors, you’re going to have to cover any glass panels as well as the door handles and hardware before you commence painting. You can usually use a short foam roller or a paint brush on a uPVC door, depending on the style, shape and size of your chosen door. However, it’s worth checking any instructions or directions before painting a uPVC door, but typically a primer is going to guarantee a reliable and durable finish.
Simply apply the first coating of primer and then let the door dry before painting. Start at a top corner and work down in a linear fashion to prevent any uneven or imperfect brushstrokes. Painting a uPVC door in consistent, organised sections will help to create a smarter appearance. Once you’ve painted the door more broadly you can then carefully paint around the masking taped sections. You’ll need to apply two coats of paint on top of the primer for a truly long-lasting finish.
How To Paint An Interior Flush Door
These simple, affordable and unfussy interior doors are known for being the “modern go-to”, but they need to be painted as accurately as possible owing to their plain-face design, which will typically show up imperfections more than you’d like. Make sure you’ve properly sanded and prepared your door and use a paint roller instead of a paintbrush to avoid any unsightly brushstrokes that will be seen incredibly easily on a flush door surface. You won’t want to cut corners by using cheap tools and budget paints as this will only serve to highlight the flaws and inaccuracies on your flush door.
All you need to do is paint a flush door in sections, blending any contrasting roller strokes together before the paint sets, and then repeat until you get a completely uniform appearance on both sides. Once both faces have dried you can start work on the edges to finish your flush door.
How To Paint An Interior Composite Door
Painting a composite door requires a bit of door finishing know-how before you can put your paintbrush to work.
At Door Giant, many of our composite doors come pre-finished in a stylish and striking selection of contemporary colours to choose from. Typically you’ll need to clean and prepare your door - as mentioned earlier - and then sand the surface so that the paint can adhere to the composite surface. Once sanding is completed, wipe down your composite door to remove any shavings or debris that have been created.
The next step is to prime your door (if the paint in question requires a primer) and then apply two coats of paint to complete the job. Some paints will likely be completely unsuitable for coating composite doors and there’s also a further risk of flaking and cracking paintwork over the lifetime of your door. Therefore, you may want to apply a final finish to both protect the paintwork and create an attractive-looking sheen on your composite door.
We strongly recommend that you paint your composite door only according to the manufacturer's instructions. If you can’t track down any painting directions, consult the manufacturer directly or speak to our knowledgeable customer service team at Door Giant today.
How To Stain & Varnish A Wooden Door
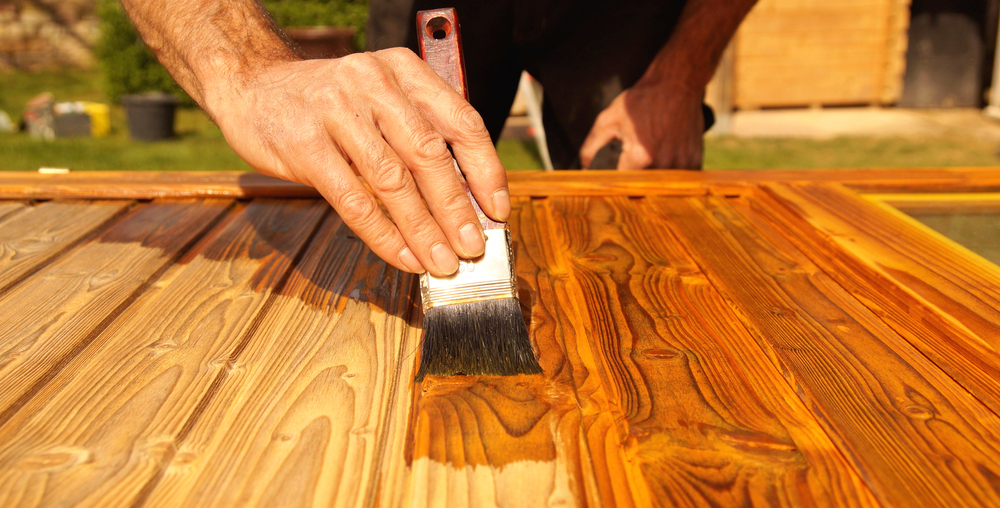
Whether you’re looking to rejuvenate an old, worn out door, or you’re wanting to illuminate the natural grain details and rich colours of a new one, it’s time to turn your attention to staining and varnishing.
Tired-looking doors with an existing paint finish need to be properly prepared with the use of a variety of tools and treatments. Depending on what your old door looks like, you’ll likely need to get hold of a paint stripper to make quick work of the existing finish, a flat blade scraper to chip away at the existing layers of paint and a moulding scraper to work around any tricky panel details. You’ll then need to apply something like white spirit or a similar treatment to get rid of any leftover remnants of paint stripper. After you’ve gone through the paint stripping process, you can prepare your door as advised earlier in this guide by sanding and filling in crevices or tending to surface-level splits and cracks.
If you’re staining and varnishing a brand new wooden door - or one of our unfinished real wood veneer doors - preparation can likely be limited to patch testing the door itself or a similar wooden surface with your chosen treatments. This is then followed by wiping away dust particles, debris and loose wood material. Once your new door is prepared you’ll want to start by staining panels and mouldings first before guiding your brush outwards to the mouldings before working the stain over the middle and outer areas of your door. Your brush should work with the grain to achieve the best finish, so make sure you apply even strokes that don’t lap. While you’re applying your stain, you can wipe away any excess as you go with a lint-free cloth.
Once the stain has been applied, carefully read the directions outlined on your tin of varnish to get the best finish possible. Ensure that varnishing takes place in a ventilated area where air can be properly circulated - this will ensure that the varnish dries quickly and effectively while also preventing the inhalation of harmful fumes. Make sure you wear protective gloves, goggles and a face mask before you start varnishing work.
After you’ve applied the first coat of varnish according to the manufacturer instructions, let your door dry completely and then lightly sand the surface with a fine-grit sandpaper. Wipe the door down after sanding, add the second coat, and as many further coats as is directed. You’ll need to wait for your finished door to fully dry before applying your door hardware. Once finished and fitted, the varnish will provide a durable, scratch-resistant surface that not only looks beautiful but protects your door for years to come.